
I had a really great time at an Art Book Making workshop held in Harold Washington Library yesterday which was coincidentally taught by my current watercolour teacher. I left the library with a nice vintage looking sketchbook made by myself, and best of all, it is free!
I actually signed up without really knowing what is it really about and without real prior interest in making art books. However I am now a fan of making personalised art books!
The library gave us a stack of old hardcover books for use. These were books which they intended to throw away anyway, so I think it is a great idea for the library to come up with creative workshops which allow participants to give these books a new lease of life.

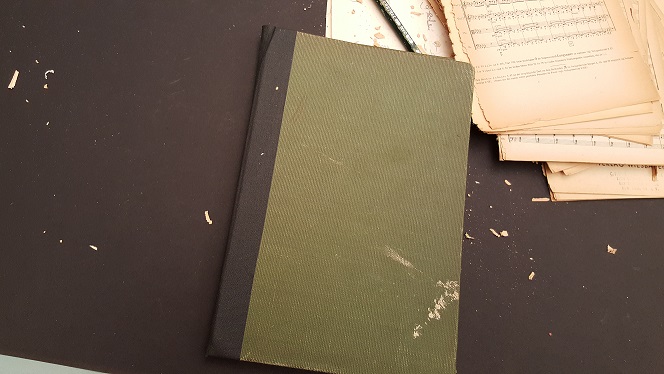
For me, I chose this vintage looking book which turned out to be a music book with pages and pages of music sheets. Look at how yellow the papers are! Actually I chose it because I prefer a plain green cover as opposed to books with titles on it which makes it harder to personalise. But after I opened it, I feel like I am holding a piece of history in my hands. There is even a stamp that has a New York address. And the fact that it is not written in English gives it an even more exotic flavour.

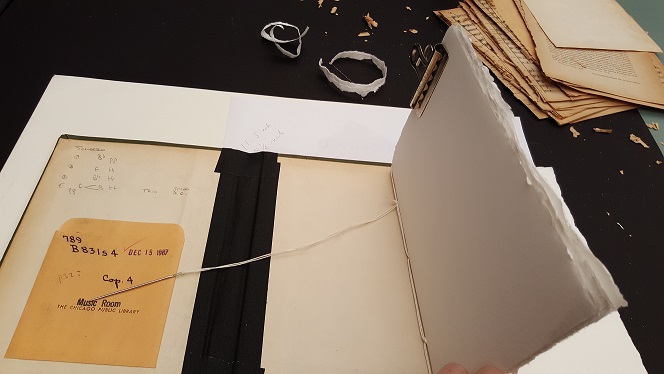
We were asked to cut out the pages of the book and to fill it in with plain sheets of paper later so that we could reuse it into a notebook or sketchbook.
I like that there are some markings on the book and this little pouch with a stamp on it that says “Music Room The Chicago Public Library”. I chose not to remove it or to erase it, cos I want to retain a little bit of the original history of the book. And actually this serves as a better Chicago souvenir for me than any Chicago memorabilia from souvenir shops!
 Then we use a paper cutter to cut the book into two, retaining just the front and back covers for use.
After that, we stuck the front and back cover with a book binding black tape. Apparently one roll of such tape costs 27 USD but it is really strong and could hold the book well.You can adjust the thickness of the book by the width of the tape you paste on the book. I can’t believe how easy it is to create a book just like that! I mean it looks exactly like a real book now! Love the scratches on the book cover too. So vintage and beautiful.

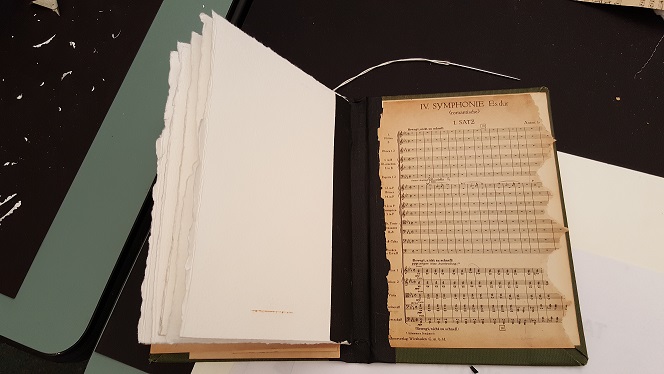
Then, it is time to choose the paper you want to put inside your own notebook/sketch book. You can choose to slot in thin papers (good for writing) or thick papers. I chose really thick papers cos I am thinking I might want to use this book for watercolour painting and thicker paper works better.
After measuring the length and width of my book. I cut out the size of the papers to slot in. For me, I chose to tear the paper into the correct size as opposed to cutting it as thick papers still remain strong even with frayed edges, plus the frayed and imperfect edges fit in with the vintage look of my book cover.
Next, it is time to bind the pages together with needle and string. You stitch the paper together after poking 3 holes in the folded part of the pages.

Once you are done with the stitching, just paste the sides of the first page and the last page onto the book. It can be done via glue or black tape. I chose black tape cos it is just easier. And somehow I trust the stickiness of the tape more than the glue. The last thing I want is for my sheets to fall out of my book.
Lastly, all you need is just to personalise your book. So easy! And so fun!
I was really pleased with my end result. But due to time constraint during the workshop, I don’t really have time to add new stuff on my book. I kept a few of the musical sheets from the book and pasted it to the inner sides of the front and back cover so that my art book still retained a bit of its original look.
I really like the end result. And I am so happy and energised after my workshop. There is just something so fulfilling about creating your own stuff. I look forward to filling the blank pages with my sketches soon!
